| Renders & Downloads | Who is & Info | Links | Home |
|
Render and post production example |
|
On this page I describe how I post produced the Phantom render. Developing your own post production technique will give your renders you own personal style (so don't be a copy cat hehe) and I personally think that any render can be improved in post.
I've received comments spanning from "the light is totally off" to "the model is perfectly integrated with the background" so be advised. |
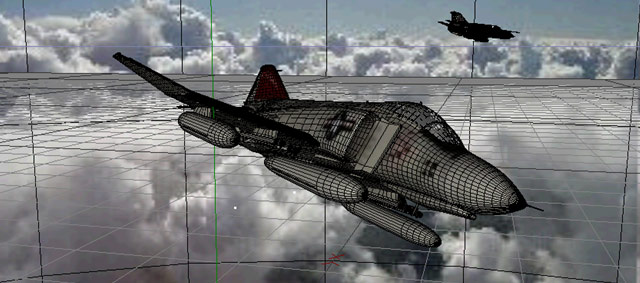
The background image is mapped on the sky object (frontal projection) and the scene is lit by the sky and by one light (omni) placed where the sun is located on the background photo. 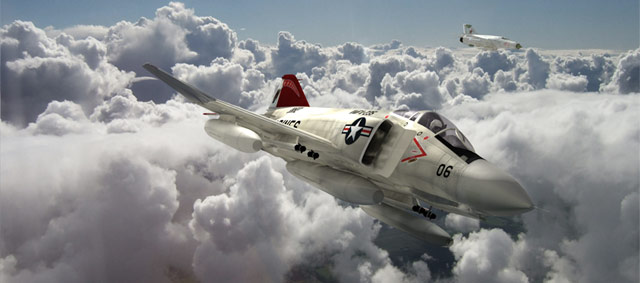
Photoshop layer 1. Here's how the default render looks like. 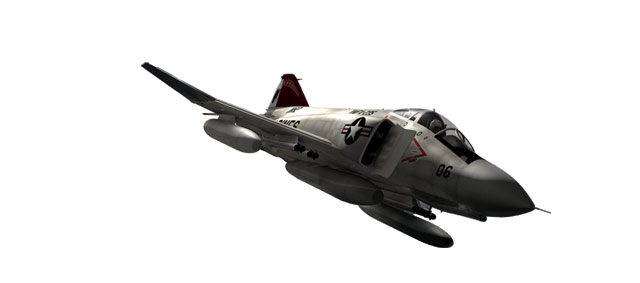
Layer 2. I made a second render of the airplane just using one light source. The purpose is to get more defined shadows and highlights. 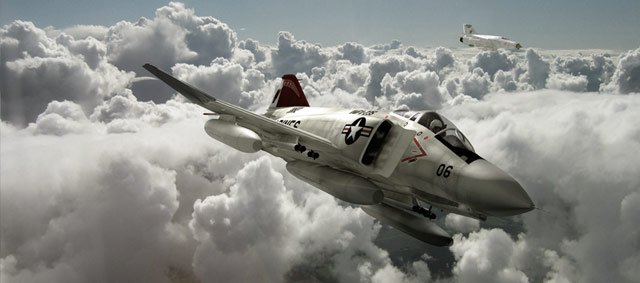
I adjusted the contrast and brightness of layer 2 (the airplane) to match layer 1 (the background) and made it about 70% transparent. I lowered the saturation (both layers) and added the yellowish tone by adjusting the color balance and then I merged the two layers into a new layer (layer 3). 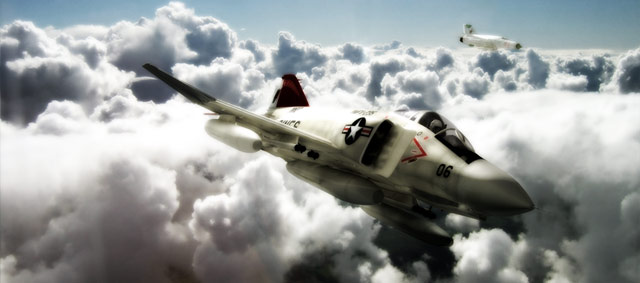
This is layer 3. I have blurred it a lot, adjusted color and contrast (auto color and auto contrast). 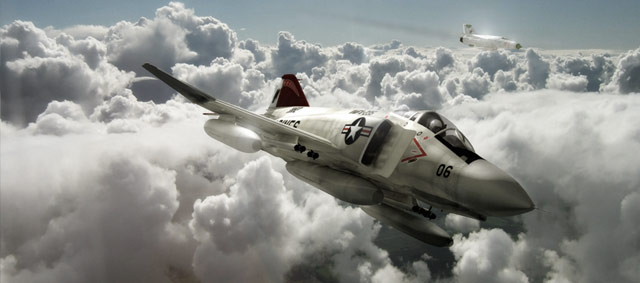
I've lowered the saturation of layer 3, lowered the opacity to about 20% and set it's layer mode to screen (or hard light). I have also manually painted highlights (on the Mig, the pilots helmet, on the tank and on the cockpits glass). I also painted the Migs exhaust trail. Finally I tilted the entire image for a more dramatic view... |