Some Tips:
- Work in a high resolution, 2048x2048 or higher.
- Use a 2D application that handles layers - Photoshop or the GIMP (free from here: http://www.gimp.org/) recommended.
- Organize your layers logically into folders and subfolder. Don't be too quick with merging layers.
- Experiment with opacity levels and layer modes.
- Find reference pictures, referense pitcures and more reference picures.
The images below are downsized to about 25% and only showing a part of the texture.
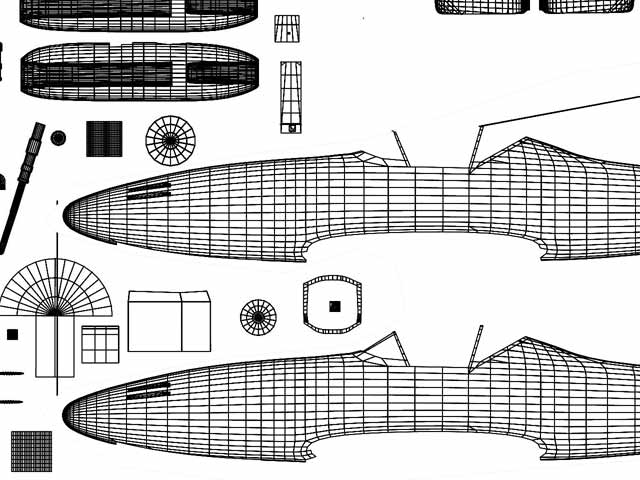
(1) Begin with opening you UV-map in your paint program. You won't be using the UV-map for anything else than as reference where to paint.
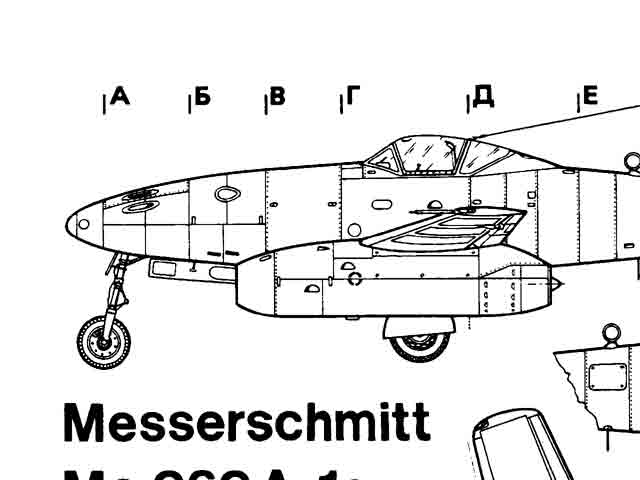
(2) Find a good drawing / building plan of the aircraft you're working on (hopefully you already have found a couple and used them for modeling reference).
This site is an excellent source for drawings: http://win.www.airwar.ru/indexe.html
Create new layer with the aiplane drawing and scale/move it so it fits your UV-map.
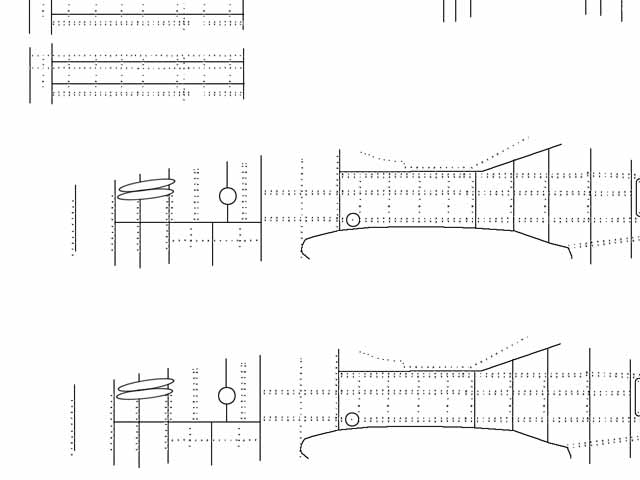
(3) Create a new layer and paint stuff that should bump in or out of the fuselage - like riverts and the fuselage plates. Carbon copy them from the drawing in the previous step.
Save this layer as your bump map. Hide it but don't delete it - you will need it further down.
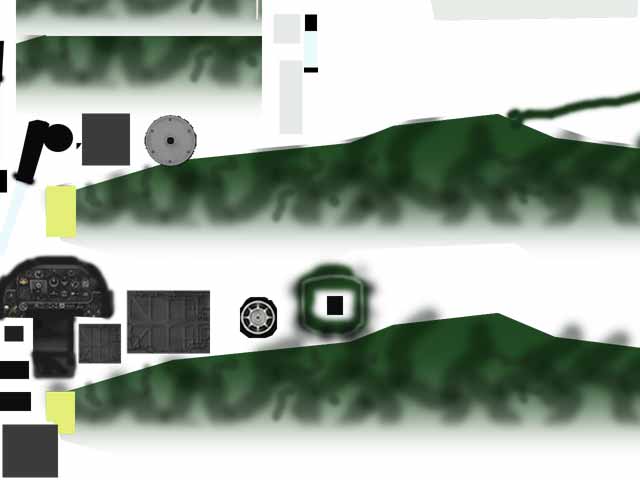
(4) Create a new layer and paint the basic colors. I've used the gradient tool on the fuselage and then I've painted the camouflage pattern using a big soft semi transparent brush.
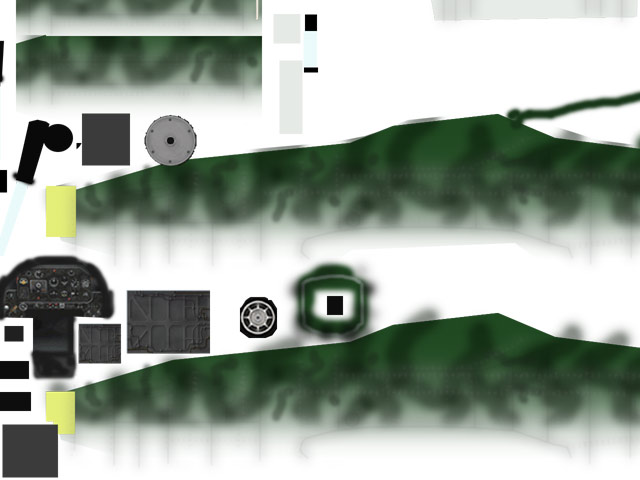
(5) This trick enhances the 3D-illusion: Copy your bump map layer twice. Blur the 1st copy a lot using gaussian blur and blur the second copy a tad. This results in shadows that
fit your bump map perfectly. We _do_ need tricks that enhance the 3D-feeling even though the texture is mapped on a 3D-object.
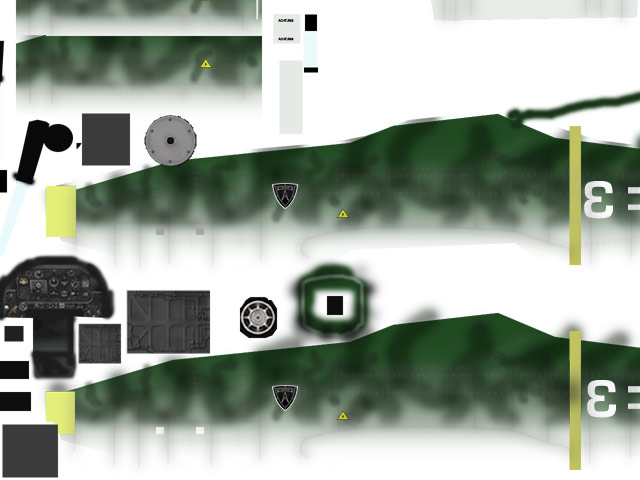
(6) Add new layers with details like texts, signs, logos etc.
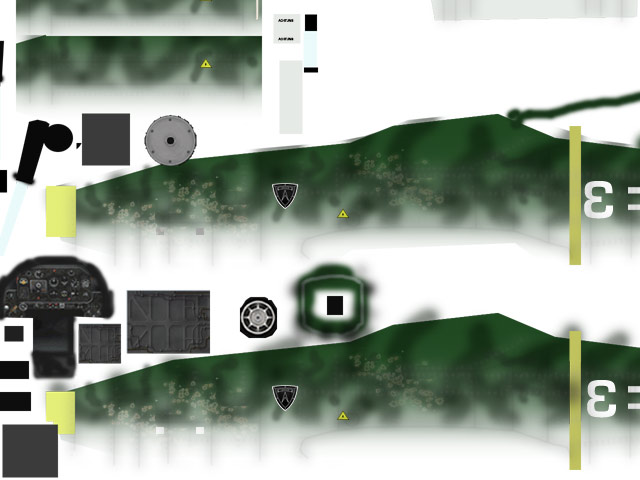
(7) Add new layers with details like rust and damage.
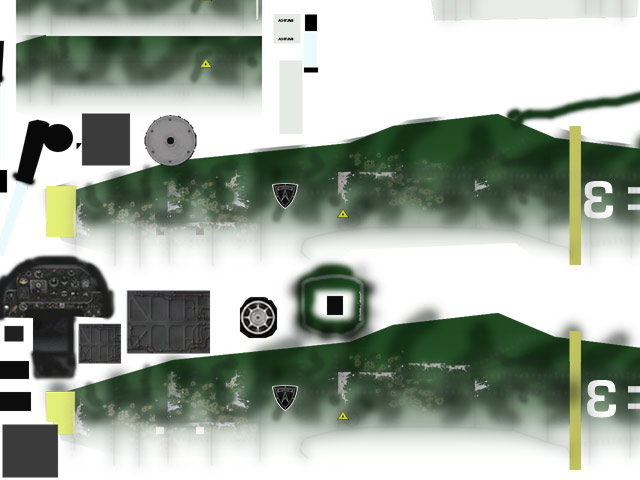
(8) Add new layers with chipping paint. Use the bump layer as reference when you paint and position these layers. The paint is most likely to chip off between plates, around rivets and hatches etc.
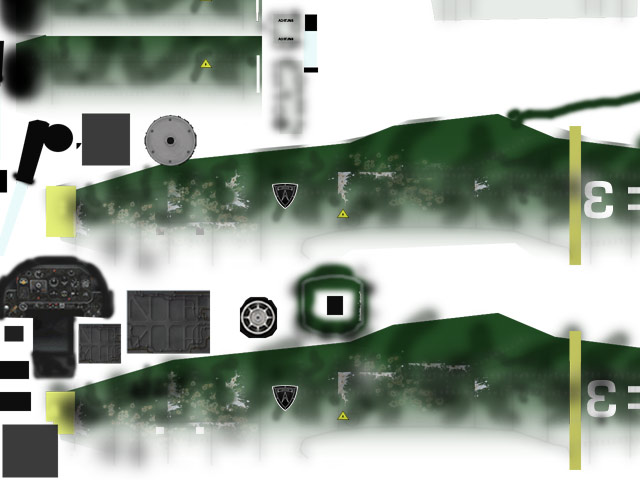
(9) Paint dirt using a soft brush. Use a dark color for dirt and a light color for worn and weathered areas.
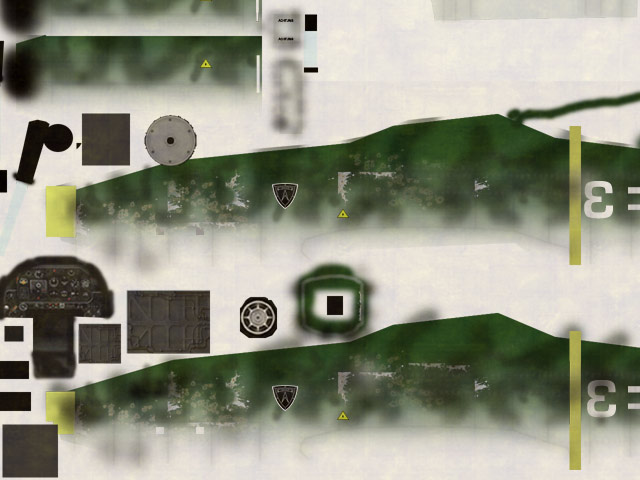
(10) You can get rid of the polished look in this way: Create a new layer and fill it with a dark brownish color. Add a lot of noise and turn up the contrast. Set the layer to screen mode and lower
the opacity. I personally think that this step makes the texture look more realistic once applied.
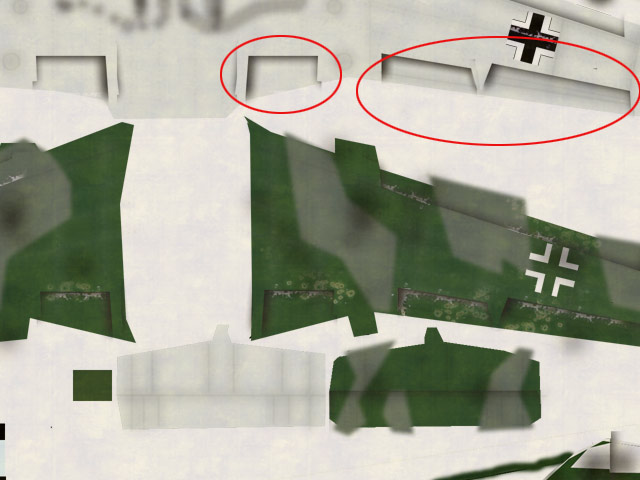
(11) Enhance the 3D-feeling by adding shadows between plates and between parts that move (for example flaps). The easiest way is to use a drop shadow plugin for this.
OK, that's basically it. I hope you found it useful. Check out the image where this texture has been used if you haven't already: [Here]
|


