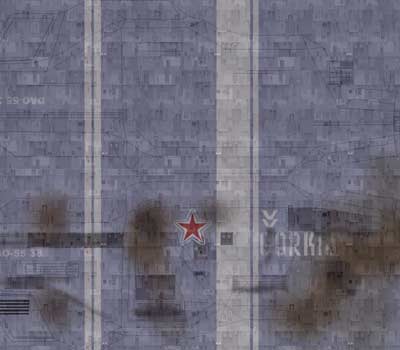
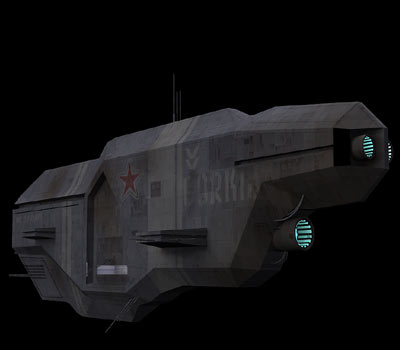
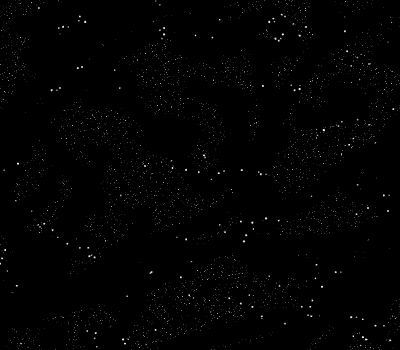
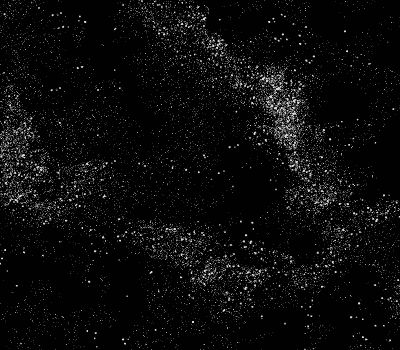
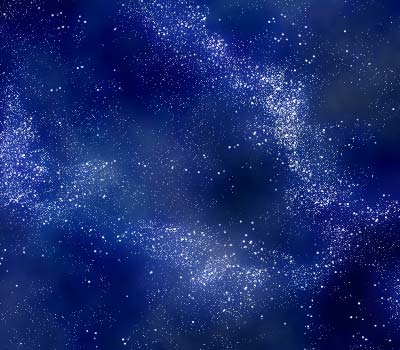
Below is a brief step by step description of how I made the image "ascent". I've received surprisingly many negative comments about this image, specifically regarding the star field in the background. I don't know but the star field seems to be a touchy subject and everybody has an opinion how a star field should / shouldn't look like. Well who cares...
Tools used: Wings3D, UV-mapper, Bryce and Photoshop.
I began with modelling the ships in Wings3D. This is the tug...
...and this is the pirate vessel. Both are quite low in poly count. You don't have to overdo the modelling especially when modelling objects
that will be used in the background.
I exported the models as obj-files and opened them in UV-mapper, re-saved them in UV-mapper adding coordinates for UV-mapping and
saved the texture map. The texture map was then used as a template when painting the texture in Photoshop.
I'm using a death star texture as a base layer in Photoshop. Then I add different layers with details, colors, dirt etc. I keep the layers transparent to some extent to make the base texture visible.
As you can see I also keep the original texture map from UV-mapper visible (the black lines). I think this sometimes enhances the texture's detail.
More details about texturing & UV-mapping:
>> Here
Here's a Bryce test render just to check if the texture fits (applied in parametric mode). It fits but looks a bit boring...
...so I changed it a bit and tested adding lights in post.
This is the pirate texture. It was done exactly in the same way as the tug texture.
Test render to see if it fits.
The engine glow is made by placing a spot light behind the engine. It is pointing into the engine and has a color/gel applied to it.
OK moving on to the star field. Here's the detailed tutorial I originally followed:
Basically it is done by painting one photoshop layer with small stars...
....and adding another layer with bigger stars.
Then using the clone tool to create patterns and remove the "computer generated" feeling.
A couple of more layers added when painting the nebulas as dust clouds..
..and a final layer for the flares.
Making a planet is quite easy. Find a decent texture and render a sphere with Bryce.
You can of course also use a 2d object for this purpose but you probably have
to spherize it in Photoshop.
Use the airbrush to paint the shadows. Using a really large brush with soft edges and low opacity is easiest.
The atmosphere is added by selecting the sphere and applying an outer and inner glow.
Finally I merged the 4 scenes and added some beacon lights, exhausts etc in post.